
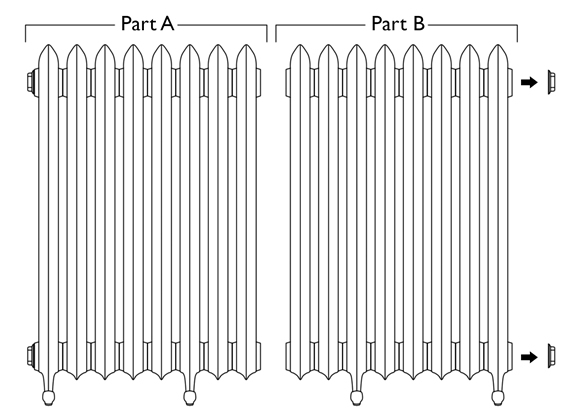
Place part A of the radiator as close to the final installation. Moving a fully assembled radiator more than required, can cause damage or leaks. Remove end bushes from part B with an adjustable spanner. If the radiator has a painted finish, to prevent damaging the paint on the bushes place a thick cloth over the end bushes before removing with the adjustable spanner. Please note that the end cap will loosen in a clockwise or anti-clockwise direction.
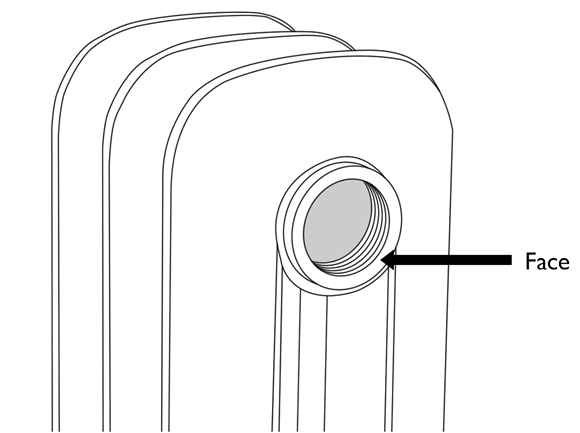
Before adding the connector, ensure all faces are free of rust, paint or any other debris/remnants of previous seal if applicable. If necessary, use a sharp blade to clean the faces back to the bare metal.
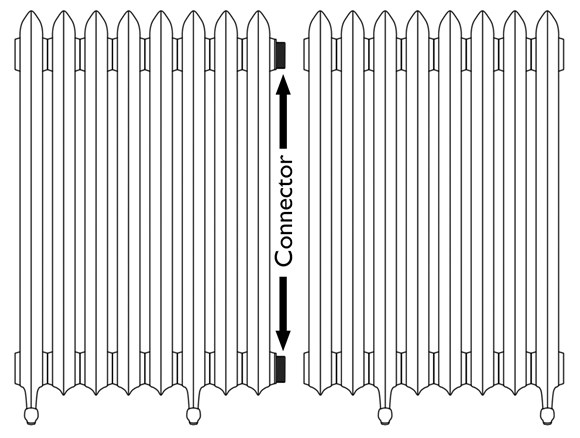
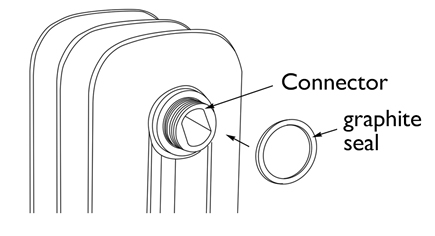
Insert the connectors by a quarter turn onto the top and bottom threads on part A of the radiator. If the connectors do not engage, flip them over and insert the other side. Place a graphite seal onto the connectors. Ensure the graphite seal are not damaged before inserting. Failing to add the graphite seals or using a damaged seal will result in leaks.
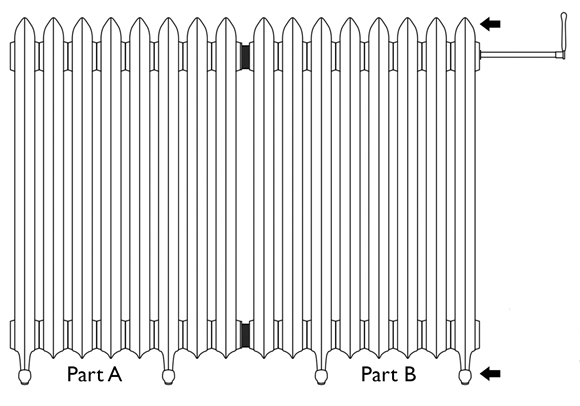
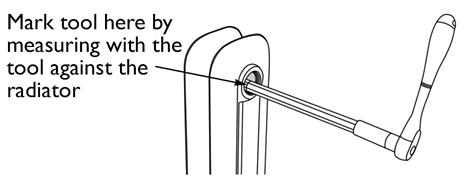
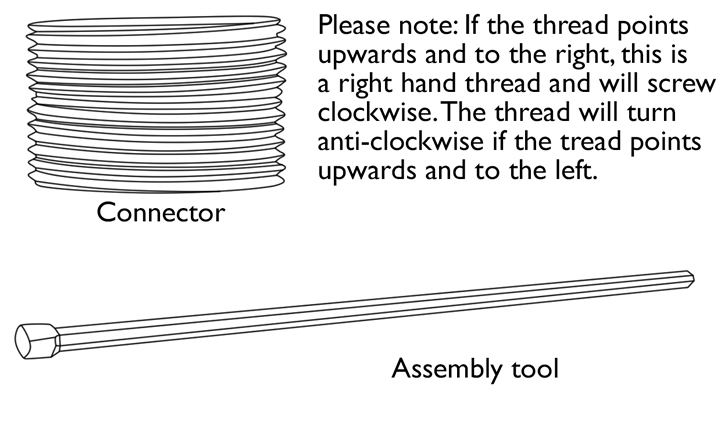
Move part B of the radiator as close as possible to part A. Place the assembly tool on top of part B and ensure it is 2-3cm longer than the radiator being attached with the tool had stopping at the connection to be tightened. Mark the opening on the assembly tool as shown above. Insert the assembly tool to your mark and tighten 3-4 turns, repeat for the bottom. Repeat tightening each a little until both sides are fully together. Is is recomended to use a socket wrench to tighten. Do not overtighten as this will damage the graphite seal.
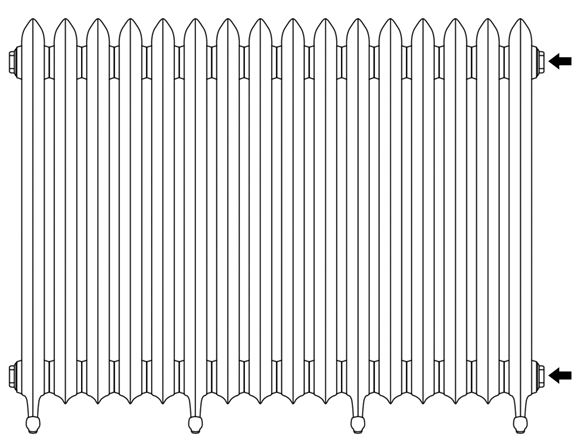
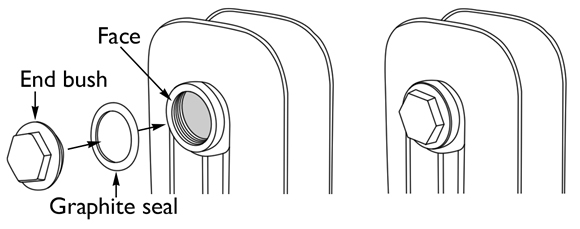
Once the two parts of the radiator are together, reattach the 2 end bushes by: Ensure the faces are all clean. Place a graphite seal onto the end bushes and then screw back onto the radiator and tighten with an adjustable spanner. To prevent paint damage on the end cap, place a thick cloth over the end bushes before tightening. Do not overtighten. The end bush will tighten in a clockwise or anti-clockwise direction, see diagram at the top.
Use the touch-up paint supplied to conceal the new graphite seal between parts A & B and the reattached end bushes.